
Early access · Release date: February 5, 2026
UpdatedMENACE Guide: Squad Builds, Combat, and Mission Tips
Use this MENACE guide to manage supplies, build effective squads, master turn order, and plan operations in v0.7.17. Prepare your force for the Wayback.
Jump to
MENACE Guide: How to Prepare for an Operation
A squad stranded outside cover can turn a manageable mission into a manpower crisis. This MENACE guide helps you connect squad preparation, battlefield decisions, and operation planning so one costly fight doesn’t cripple your next deployment. Use this MENACE guide to prepare for v0.7.17, including the revised mission selection system, rebalanced equipment, and updated Ironman rules.
You command the TCRN Impetus, a damaged strike cruiser operating in the Wayback system. Between missions, you recruit Squad Leaders, distribute equipment, improve the ship, and decide which factions to support. Every deployment draws on resources that also matter after the shooting stops.
Start by checking these four resources on the Bridge:
| Resource | What it does | Preparation tip |
|---|---|---|
| Promotion Points | Unlock Squad Leader promotions and perks | Review available perks alongside their added deployment cost. |
| Authority | Supports squad Discipline and pays for recruitment | Balance roster expansion against suppression recovery. |
| O.C.I. Components | Pay for Operational Capability Improvements | Choose upgrades that address a specific gap in your force. |
| Squaddies | Fill infantry squads | Keep replacements available for later missions. |
Before accepting an operation, inspect its enemy faction, planetary conditions, and faction-standing changes. Improved faction relationships unlock additional OCI options, so your strategic choices also shape the ship upgrades available to you.
Then inspect individual missions for objectives, supply limits, weather, and rewards. Build your deployment around those requirements. Carrying expensive equipment into every fight leaves less room for the other squads and tools the mission needs.
The central habit in this MENACE guide is simple: prepare for the whole operation. A victory that leaves your roster exhausted and your manpower depleted can make the remaining missions much harder.
Official page: MENACE (menacegame.com)
Build Squads Around Roles and Supply Limits
Squad size, equipment, and promotions all affect deployment cost. Larger infantry squads bring more soldiers firing their primary weapons, but they also consume more supplies. Promotions add a supply tax, making experienced leaders more expensive to field.
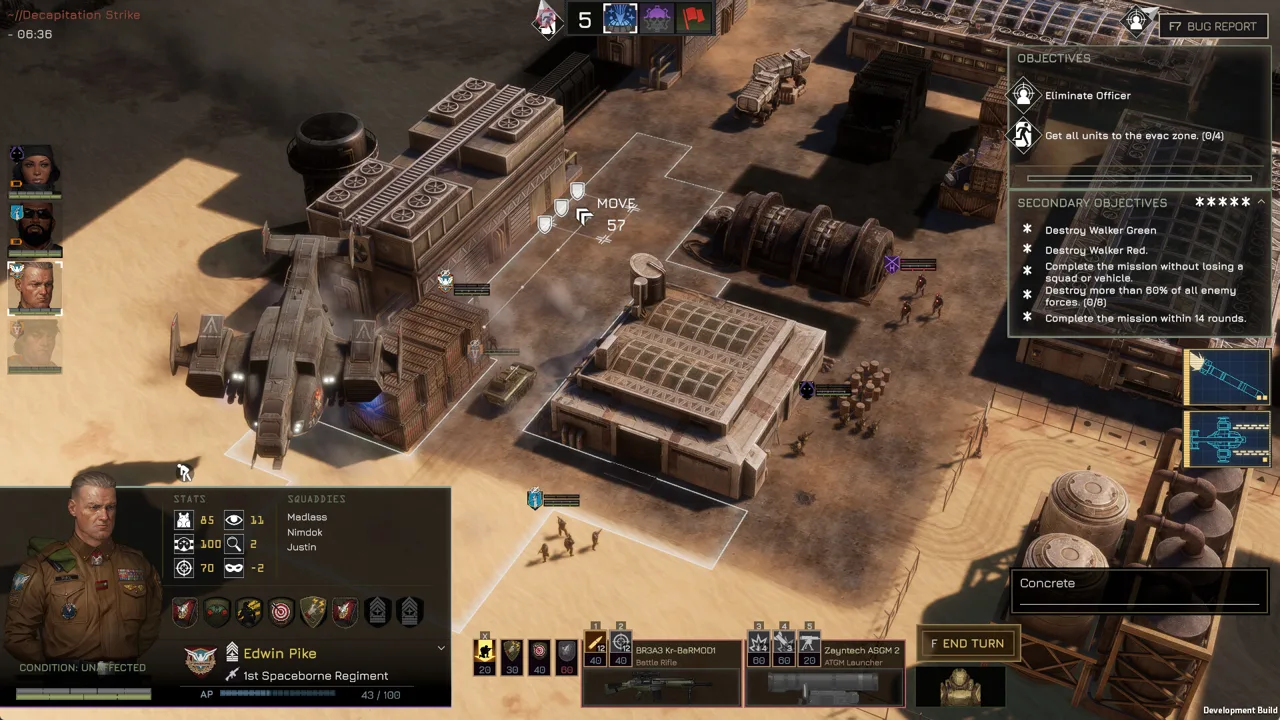 Image: Steam / Overhype Studios
Assign each squad a job before adding equipment. Separate close-range fighting, long-range suppression, reconnaissance, and anti-vehicle duties so you can see what your deployment actually covers.
| Squad element | Relevant mechanic | Loadout decision |
|---|---|---|
| Primary infantry weapon | Its firepower scales with the number of squaddies | Reserve larger squads for roles that use their collective firepower. |
| Special weapon | The Squad Leader carries it instead of the primary weapon | Consider a smaller squad for a dedicated special-weapon role. |
| Armor | Protects squaddies and can affect accessory capacity | Compare protection, accessory slots, and supply cost. |
| Accessories | Add tools such as grenades, ammunition support, and reconnaissance equipment | Equip tools that support the squad’s assigned task. |
| Vehicle | A pilot needs an assigned vehicle to deploy | Assign the chassis and use “Add to Mission” during preparation. |
Small special-weapon teams can reduce supply pressure because special weapons do not scale with squad size the way primary infantry weapons do. Check perks before cutting manpower, though: Share the Load affects weapon uses, so squad composition can still matter to the loadout.
Match weapons to the engagement distances you expect. Inspect ideal range, accuracy, penetration, and suppression rather than choosing by damage alone. For armored targets, bring weapons with suitable penetration and examine the target’s directional armor before firing.
Equipment changes in v0.7.16 also deserve a fresh look. The basic BR3A3 Kr-BaR “Crowbar” dropped from 12 ammunition to 10, while its supply cost increased from 9 to 11. Recheck any older budget loadout built around its previous efficiency.
Use this MENACE guide as a loadout checklist: identify the target, assign a squad to handle it, then check whether the remaining supply budget covers objectives and support.
Before launching, drag squads into suitable positions within the deployment area. Use available intelligence to separate vulnerable vehicles from enemy anti-vehicle threats and position your own counters where they can contribute.
Control Combat With AP, Cover, and Suppression
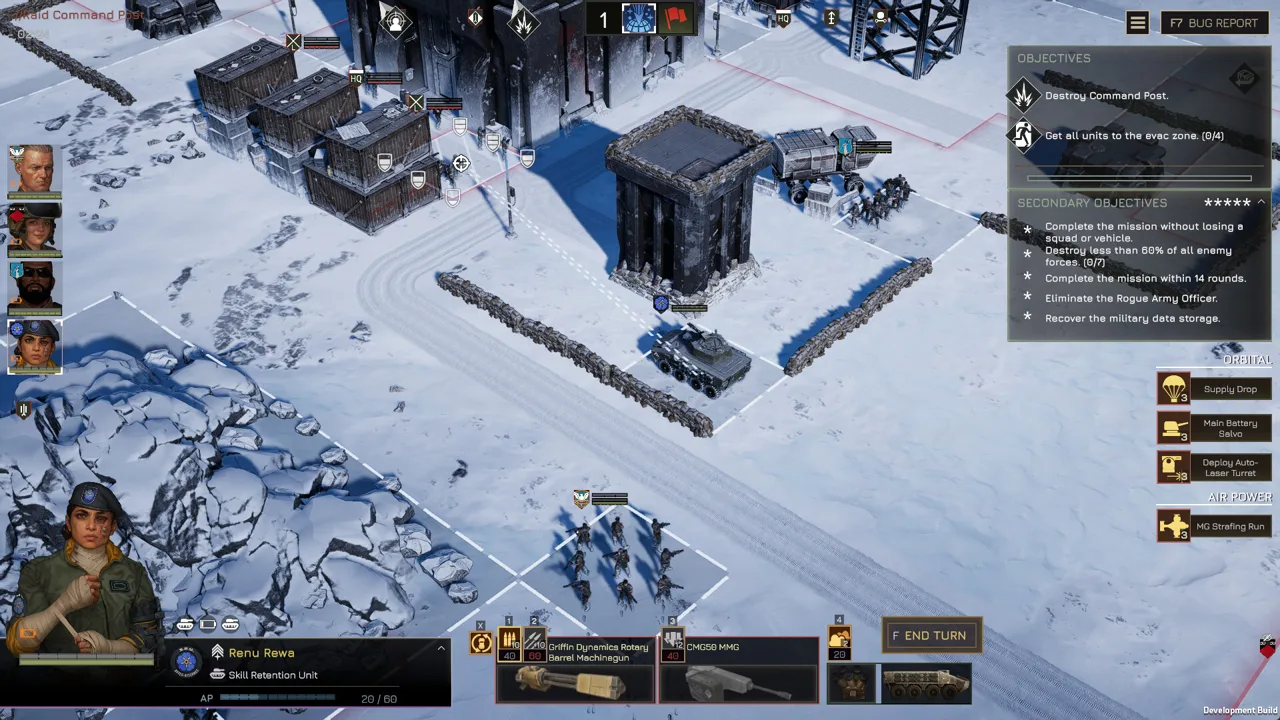
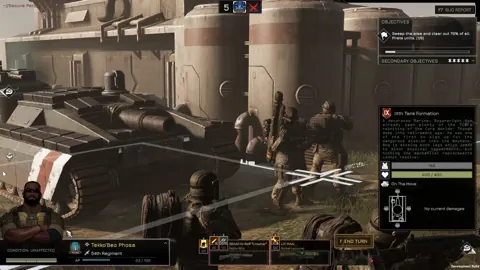
MENACE alternates unit activations between factions. You choose which available squad acts when your faction receives an activation, but once that squad commits, it finishes its actions before you move on.
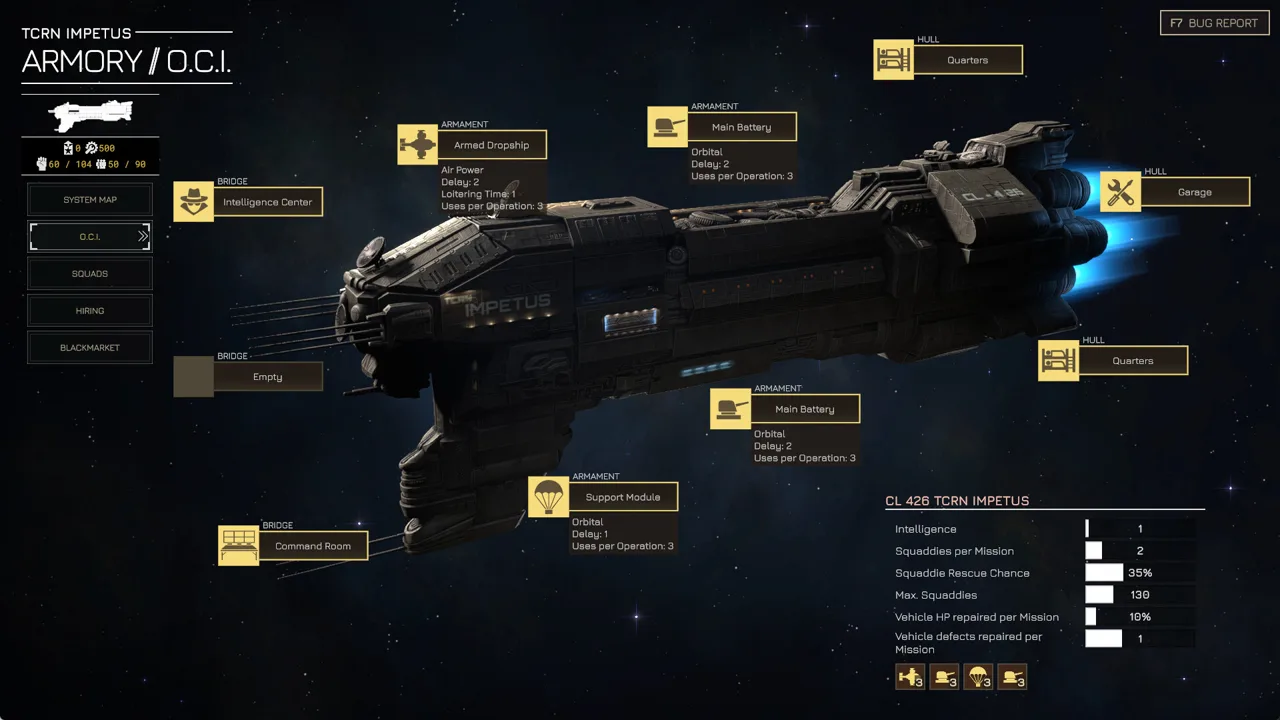 Image: Steam / Overhype Studios
A new round begins after all units have completed their activations. This makes activation order a tactical tool: a unit acting late in one round can act early in the next. Enemies can create the same pressure, so watch which threats have already acted before moving into danger.
Budget actions before moving
Movement, attacks, stance changes, and equipment use consume Action Points. Check the full sequence before confirming a route. Reaching a firing position accomplishes little if the movement leaves too few AP to attack.
Crouching costs 20 AP, and the beginner combat example gives rifle fire a 40 AP cost. Inspect your selected action’s displayed cost rather than assuming every weapon works identically. Standing back up also costs AP, so include that when planning a reposition.
| Mechanic | Current effect | Tactical application |
|---|---|---|
| Sprint | Costs 40 AP, moves up to 5 tiles, then applies winded | Check the destination and remaining actions before sprinting. |
| Take Aim | Delays the unit’s activation and grants +10% accuracy and +30% critical hit chance | Delay a shot when the later activation fits your plan. |
| Blind fire | Applies a -60% accuracy penalty | Seek a visible target or a better firing angle before committing ammunition. |
| Suppression | Reduces combat effectiveness, including accuracy and next-turn AP | Suppress an active threat before exposing another squad. |
| Critical hits | Deal increased damage; v0.7.16 also added 50% increased armor penetration | Inspect critical-hit perks when rebuilding precision-focused leaders. |
Cover is directional. Protection from a wall on one side does not protect a squad against a flanking attacker. Inspect the enemy’s firing angle, and advance through dense terrain in shorter moves to reduce the chance of discovering several threats after spending your AP.
For vehicles, keep stronger armor facing incoming fire. Reverse movement lets a vehicle reposition while maintaining its facing.
The combat priority in this MENACE guide is to reduce dangerous enemy actions. Suppress a threatening squad, disrupt its effectiveness, and then decide whether another target needs attention more urgently. A fleeing enemy can recover morale, so continue watching it while handling immediate threats.
Smoke provides another way to protect an exposed squad or interrupt a firing lane. Remember its supply cost increased from 10 to 15 in v0.7.16, and account for that protection during preparation.
Choose Missions Around Enemy Activities
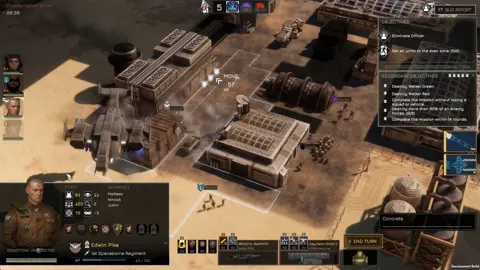
The v0.7.15 mission overhaul changed operation planning. You can freely choose the order of available missions, while enemy activities activate after countdowns. These activities can appear from the opening operation and include enemy offmap abilities.
 Image: Steam / Overhype Studios
Inspect countdowns before choosing a mission for its equipment reward. Completing missions can stop enemy activities, making mission order part of your battlefield preparation.
| Planning check | What to inspect | Next action |
|---|---|---|
| Enemy activities | Countdown and associated threat | Prioritize missions that stop a threatening activity. |
| Light conditions | Upcoming daylight-cycle information | Check visibility conditions before selecting a loadout. |
| Mission objectives | Required tasks and individual progress bars | Deploy squads that can reach and complete those tasks. |
| Supply limit | Total cost of the selected force | Adjust squad size or equipment before launching. |
| Operation progress | Victory-point progress | Review progress after each mission before choosing another. |
Follow this MENACE guide planning sequence before each deployment:
- Review active enemy threats and countdowns.
- Read the mission’s current objectives.
- Check lighting, weather, and available intelligence.
- Adjust the deployment to fit the supply limit.
- Position squads before entering combat.
Intelligence from ship upgrades reveals more detail about enemy positions and unit types. Use that information to change deployment locations and equipment, especially when vehicles face hostile anti-armor weapons.
Offmap support also needs timing. These abilities have limited uses and usually resolve after a delay. Check the countdown, then use suppression to make it harder for enemies to leave the targeted area.
Revisit OCI choices after the balance update. Recon Dropship now costs 50, Deployable Cover costs 40 and has eight uses, and Signal Blocker costs 40 with ten uses. Compare those costs with the problem you need to solve.
Preserve Your Roster and Rebuild Older Loadouts
Casualties reduce a squad’s damage and suppression because fewer squaddies remain to fire. Replacements come from a limited manpower pool, so inspect losses after every mission and redistribute soldiers before launching again.
Rescued squaddies remain wounded until the operation ends. Rescue therefore preserves manpower for later operations without immediately restoring the current deployment roster.
| Recovery mechanic | Current effect | Roster implication |
|---|---|---|
| Base ship rescue chance | Adds 10% squaddie rescue chance | Keep tracking casualties even with rescue support. |
| IFAK accessory | Adds 25% rescue chance for its unit and guarantees one squaddie rescue | Consider it when preparing a squad for dangerous fighting. |
| First Aid perk | Adds 20% rescue chance for all units, with a minimum of one | Review it alongside your other recovery options. |
| Repeated deployments | Can leave Squad Leaders weary or exhausted | Rotate leaders instead of relying on the same lineup. |
| Ironman mission exit | Quitting or closing the game aborts the mission | Commit to the deployment before entering combat. |
Hire additional leaders through Black Market dossiers and Authority, while keeping Authority’s Discipline benefit in mind. Check the market after operations because its inventory refreshes. Match barter value closely; overpaying provides no extra benefit.
This MENACE guide uses the updated Ironman behavior from v0.7.16. Closing the game during combat aborts the mission, and reloading cannot reverse a Squad Leader being downed or killed through the old loophole.
Returning players should also inspect promotions. The balance update refunded all Promotion Points, requiring promotions to be assigned again. Hotfix v0.7.17 restored Lim’s Zig-Zag by replacing Solid Grouping and reset his promotions again.
Check enemy counters, too. The Hive Queen is now immune to stuns, so avoid building your plan around disabling it that way.
For technical problems, v0.7.17 disabled Screen Space Global Illumination to improve performance. Use Fullscreen Window if minimizing causes fullscreen problems; for high-refresh crashes, enable Vsync or lower the refresh rate as described in the game’s known issues.
FAQ
What should I prioritize when following this MENACE guide?
Check objectives, enemy activities, supply limits, and available intelligence before deploying. Assign squads specific jobs, then preserve enough manpower and healthy leaders to continue the operation.
Should every infantry squad have as many squaddies as possible?
Additional squaddies increase primary-weapon firepower and deployment cost. Consider smaller teams for dedicated special weapons, while checking perks such as Share the Load that affect weapon uses.
Can I choose mission order within an operation?
Yes. Since v0.7.15, you can choose which available missions to complete and their order. Inspect enemy-activity countdowns, light conditions, objectives, and operation progress before deciding.
Does quitting a mission let me undo losses in Ironman?
In v0.7.16 and later, quitting or closing the game during a mission aborts it. The updated Ironman rules also prevent the old reload loophole for reversing downed or killed Squad Leaders.
Continue with
 MENACE Review: Is This Tactical War Worth Your Time?Our MENACE review breaks down squad combat, resource management, October balance changes, and Early Access issues to help you decide whether to jump in.
More in Guide
See all Guide
Quick links
MENACE Full Release Date: 1.0 Status and 2027 Roadmap
Looking for the MENACE full release date? Get the latest 1.0 status, Early Access launch details, and a breakdown of the 2026 and 2027 update roadmap.
MENACE Squad Leader Tier List: Best Picks and Builds
Use this MENACE squad leader tier list to compare top picks, plan promotions, and build stronger squads with the updated perk changes for version 0.7.17.
MENACE PS5: PC Release Dates, Updates, and Roadmap
Looking for MENACE PS5 news? Get the PC Early Access release date, current update details, and development roadmap before planning your tactical campaign.
MENACE Discord: Join the Official Community and Get Help
Find the MENACE Discord community, learn to join through official channels, discuss builds, share useful feedback, and keep up with Early Access updates.
Join the community
Official channels for news, updates and player help: